
Contents
Note
Before you start
Tools required
Instructions
Note
The bearings solution is still in testing and is being shared with a few pilot customers only at this stage. Please contact support if you have any concerns.
The bearings kit consists of the following parts:
| 2 Inner housings | 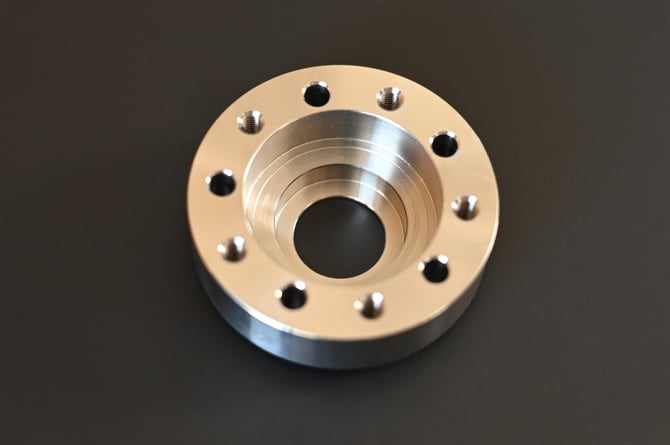 |
| 2 Outer housings | 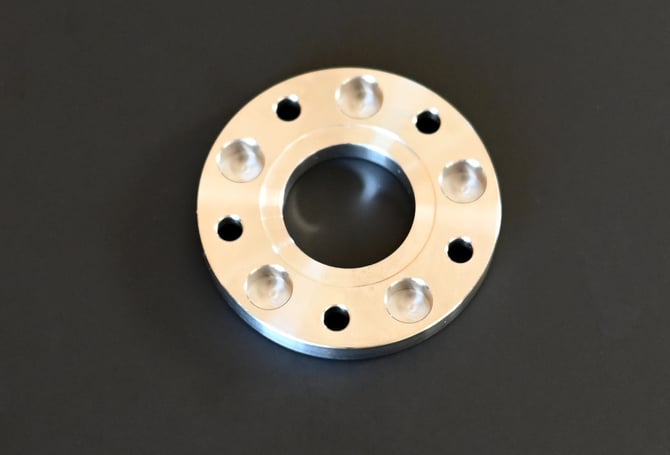 |
| 4 lip seals (mounted inside housings) | 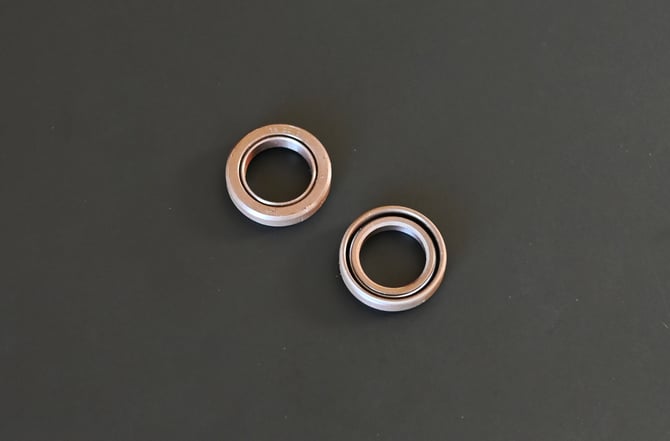 |
| 2 32mm bearings | 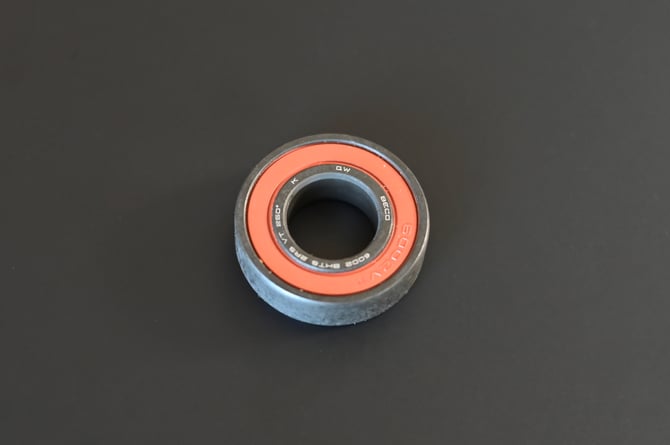 |
| 10 M4 x 16 caphead bolts | 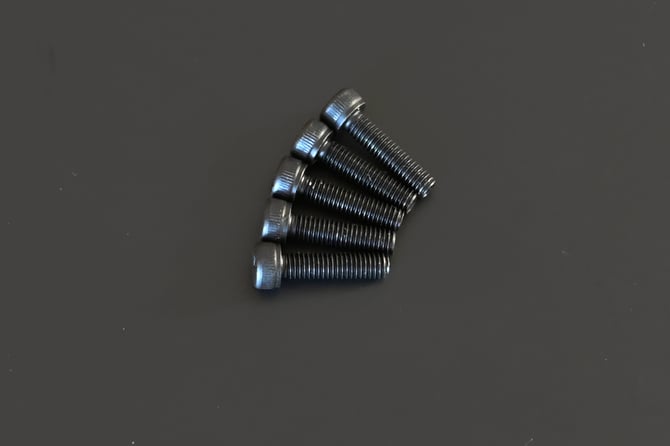 |
| 10 M4 x 10 countersunk screws | 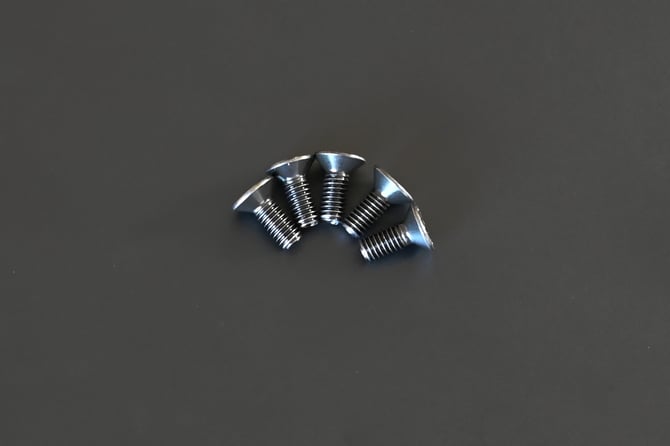 |
| 2 steel washers | 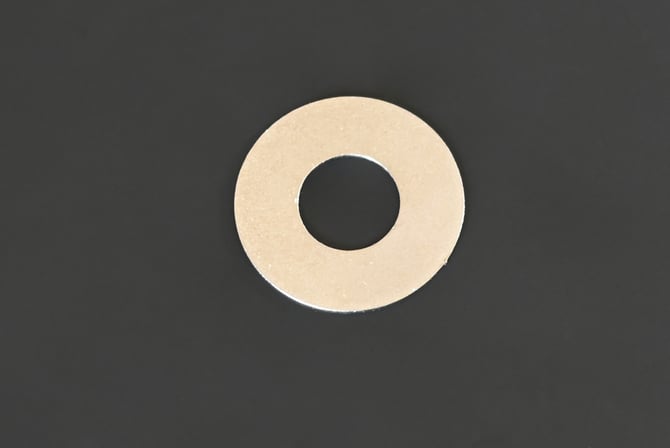 |
| 2 polymer washers | 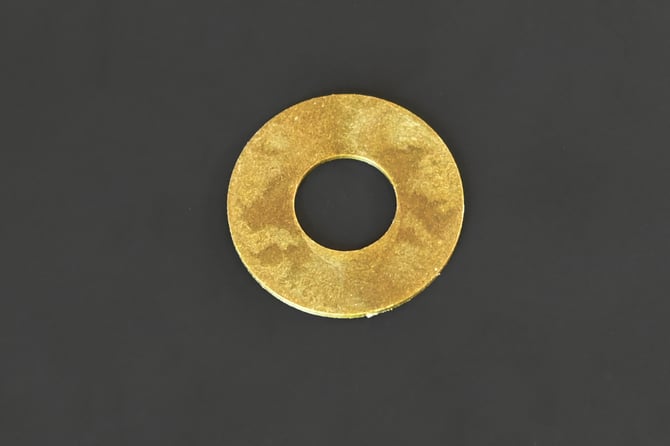 |
If any parts are missing, please contact support before starting work.
Before you start
 DISCLAIMER
The information in this document is believed to be accurate and reliable. However, the manufacturer does not give any representations or warranties, expressed or implied, as to the accuracy or completeness of such information and shall have no liability for the consequences of the use of such information. The manufacturer is not liable or responsible for any problems arising from the attempted repair. The manufacturer reserves the right to make changes to information published in this document, including without limitation specifications and product descriptions, at any time and without notice. The manufacturer's products are not designed, authorized, or warranted to be suitable for use in applications where failure or malfunction can reasonably be expected to result in personal injury, death, or severe property or environmental damage. The manufacturer accepts no liability for inclusion and/or use of its products in such equipment or applications and therefore such inclusion and/or use is for the customer’s own risk.
SAFETY INSTRUCTIONS
-
Make sure the roaster is turned off before starting any maintenance work.
-
The power cord must be unplugged or the roaster fully isolated from the electrical supply before removing any panels.
-
Read the instructions in full before starting work, and follow the steps as instructed below
Tools required
- Flat-head screwdriver, coin, or similar to open front door
- 2 mm hex key
- 2.5 mm hex key
- 3 mm hex key
- 4 mm hex key
- Narrow-nosed pliers
- Rubber or wood block (see 'Install lip seals' for details)
- Hammer or mallet
Instructions
Open the front door and remove the both side panels
See the guide here.
Remove existing bushing
To keep the paddle alignment correct, please replace the bushing on one side at a time.
To remove each bushing, follow this guide to remove the bushings and clean the axle. Ignore any subsequent steps in that guide.
For convenience, the steps are as follows:
Right-hand side bushing
- Remove the belt cover, drive belt, and upper pulley
- Remove the drive key
- Remove the alignment collar
- Remove the bushing
Left-hand side bushing
- Remove the RPM plate
- Remove the alignment collar
- Remove the bushing
Install lip seals
Each housing requires a lip seal. The lip seals may arrive pre-installed in the housings. Check that they are properly seated and flush with the housing. If not, or if you are only replacing the seal, then follow these steps to install the seal.
Position the seal in the housing. The flat face on the seal should be oriented towards the drum when installed. This is what the correct seal installation looks like:
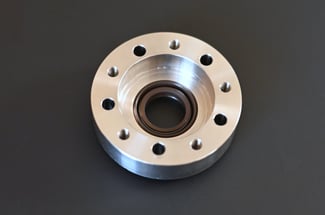
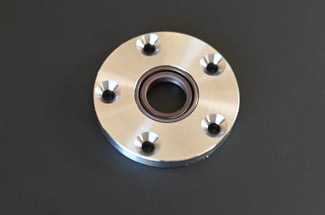
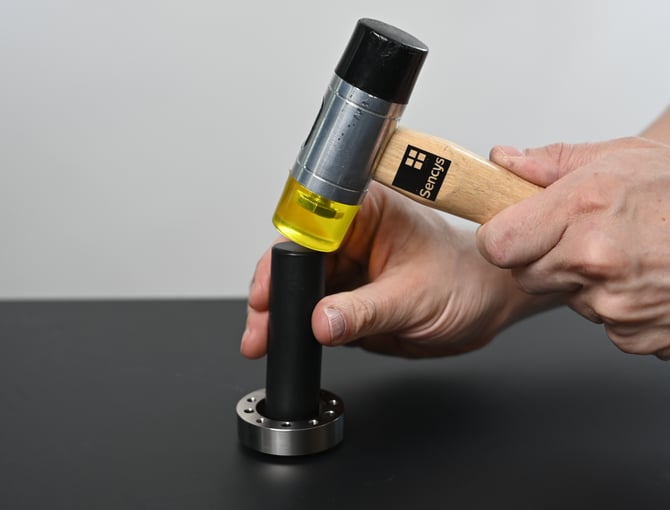
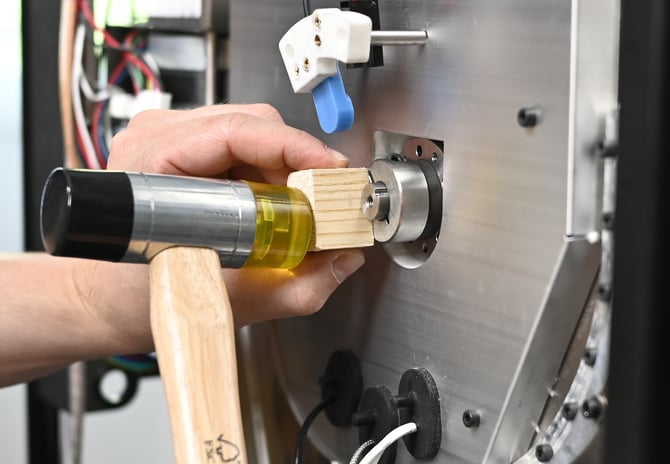
Use a block and a hammer to tap the seal into place. The block can be any object with a flat surface that will fit in the space, ideally made of wood, hard plastic or rubber.
Place the block against the seal face and tap the block around the edge of the seal with a hammer until the seal sits flush with the housing.
Install bearing and inner housing
Depending on the amount of wear and build-up on your axle, you may be able to install the housing and bearing together.
The bearing drops into place inside the inner housing with light hand pressure. If the bearing sticks, do not force it in. Align it straight with the space in the housing and try again.
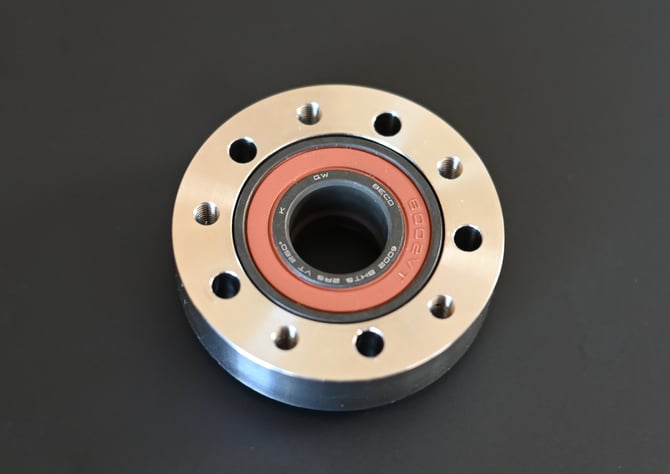
Once the bearing is in place, slide the inner housing and bearing onto the axle, with the bearing facing towards you. Line up the unthreaded holes in the housing with the screw holes in the drum wall and push firmly into place.
If the bearing ends up protruding slightly from the housing, then push it firmly into place.
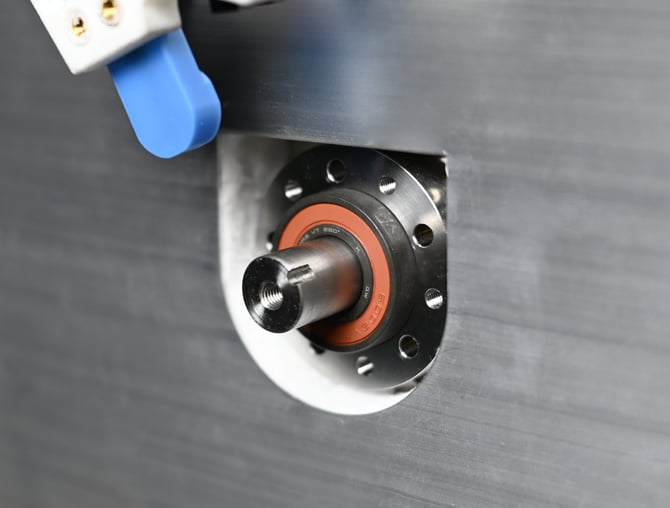
If you're able to get the bearing and housing in place together in this way, then skip to the 'Install outer housing' step, below.
If the bearing pops fully out of the housing, as in the below image, then do not attempt to force it into place. Instead, remove the bearing and install the housing and bearing seperately following the steps below.
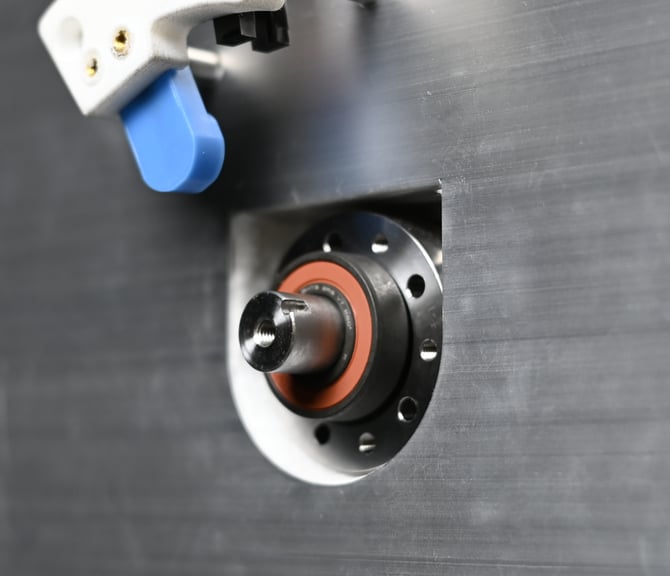
Install inner housing
Slide the inner housing onto the axle.
Line up the unthreaded holes in the housing with the screw holes in the drum wall and push firmly into place.
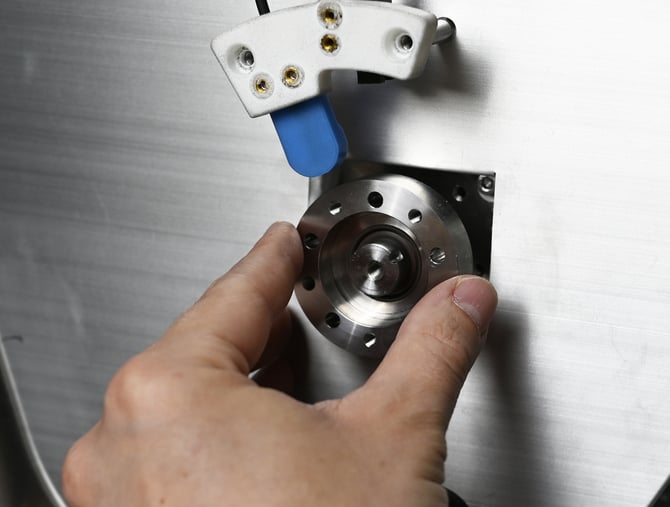
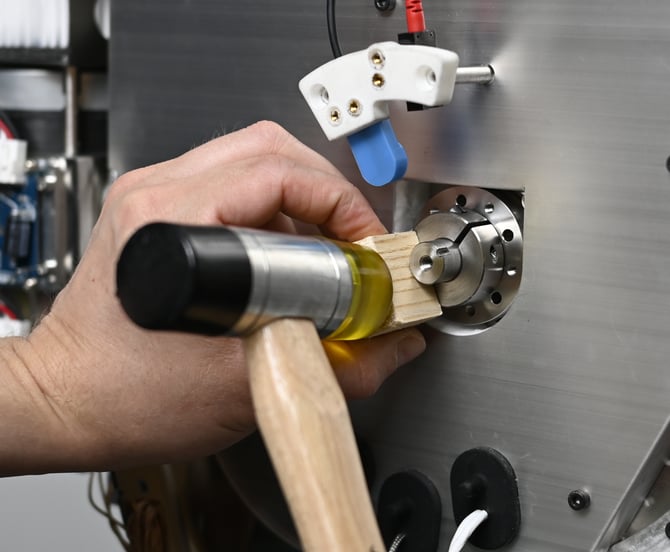
Slide the alignment collar onto the axle to protect the bearing, then use a block and hammer to tap the housing around all sides until it is fully seated. Remove the alignment collar.
Install bearing
Slide the bearing onto the axle and into the housing as far as possible. Make sure that the bearing is aligned with the space in the housing for it —do not force it in at an angle.
If the bearing and housing are misaligned, then remove the bearing and go back to tapping the housing with the block and hammer until it is properly seated.
Once the bearing is aligned, push it in until it sits flush with the housing.
If needed, you can also tap the bearing into place with the block and hammer. Slide the alignment collar back on to the axle, place the block against it and gently tap around the perimeter until the bearing sits flush with the housing. Remove the collar.
Fasten inner housing
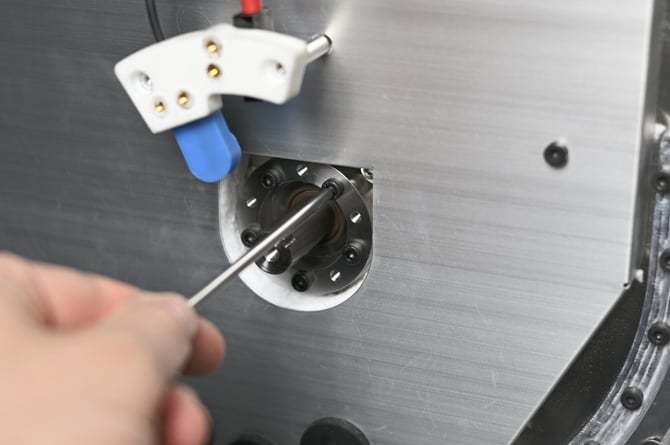
Secure the inner housing to the drum with the 5 caphead bolts, using a 3 mm hex key.
Secure the bolts loosely first, then tighten them gradually, alternating sides as you go.
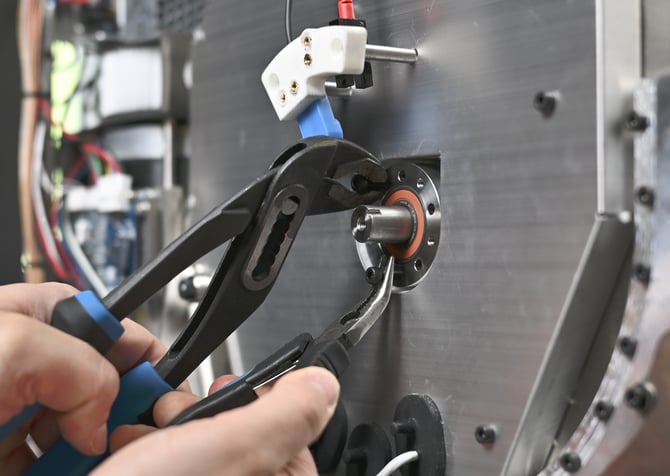
Note Once the housing is seated, it can be difficult to remove or rotate. If the holes in the housing do not line up with the holes in the drum, screw two of the caphead bolts loosely into the threaded holes in the bearing, and then use pliers to pull out or rotate the housing as needed.
Install outer housing
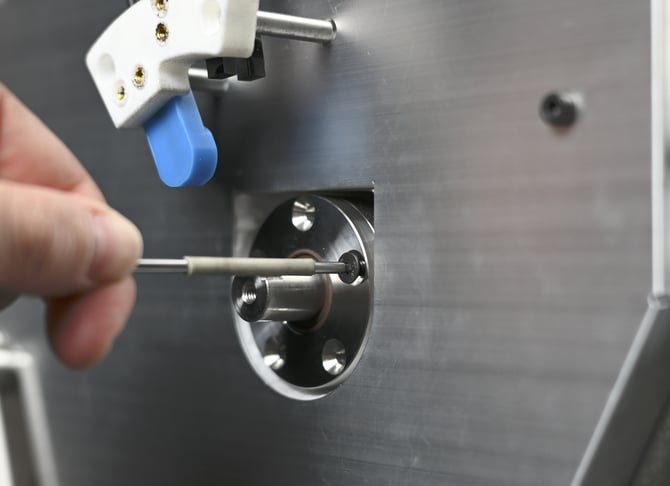
Once the inner housing is secure, slide on the outer housing. Line up the holes in the outer housing with the threaded holes in the inner housing.
Secure the outer housing in place with the countersunk bolts using a 2.5 mm hex key.
Secure the bolts loosely at first, and then tighten them gradually, alternating sides as you go.
Realign paddles
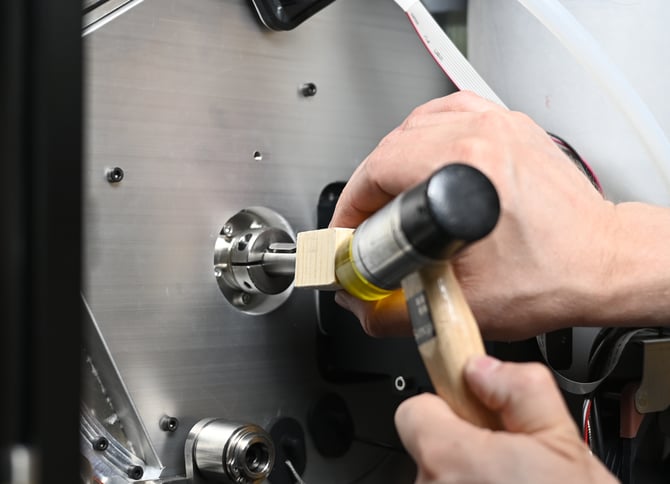
Push the axle through fully from the far side to eliminate play between the bushing and the alignment collar on the far side. Use a block and hammer to gently tap the axle into position if needed.
Install washers and collar
Slide the steel washer onto the axle first, followed by the polymer washer. Slide on the alignment collar and secure it in place by tightening its bolt with a 3 mm hex key.
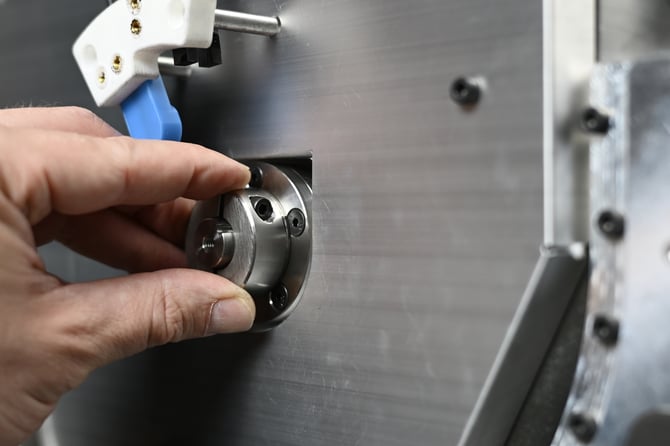
If the collar is correctly positioned, the axle should rotate freely but have no play back and forth. Check that the drum spins freely and that the axle is not able to move side to side.
Reinstall drive belt and motor driver
Replace drive key and top pulley.
Reinstall drive belt and check it is correctly aligned.
Remount the belt cover using the three bolts.
Reposition the main motor driver and secure with its bolt (or press in place until secured, if the driver was secured with adhesive).
Reinstall the RPM plate
The rear side of the RPM plate has a small protrusion, which lines up with a groove in the axle to ensure it is positioned correctly. Put the RPM plate and washer into position, and then secure with the bolt.
Finish up
Replace the side panels and secure with bolts.
Close the front door.