
Contents
When to replace the bushings
Before you start
Tools required
Instructions
When to replace the bushings
The bushings are self-lubricating and should operate for a long time without maintenance. Do not use any form of oil or lubrication on the bushings.
However, if there is a squeaking or scraping sound while the drum is turning, or the drum gets stuck, that may indicate that the bushings need replacement. Please contact support for advice and send a video of the roaster in operation so we can help diagnose the issue.
Before you start
 DISCLAIMER
The information in this document is believed to be accurate and reliable. However, the manufacturer does not give any representations or warranties, expressed or implied, as to the accuracy or completeness of such information and shall have no liability for the consequences of the use of such information. The manufacturer is not liable or responsible for any problems arising from the attempted repair. The manufacturer reserves the right to make changes to information published in this document, including without limitation specifications and product descriptions, at any time and without notice. The manufacturer's products are not designed, authorized, or warranted to be suitable for use in applications where failure or malfunction can reasonably be expected to result in personal injury, death, or severe property or environmental damage. The manufacturer accepts no liability for inclusion and/or use of its products in such equipment or applications and therefore such inclusion and/or use is for the customer’s own risk.
SAFETY INSTRUCTIONS
-
Make sure the roaster is turned off before starting any maintenance work.
-
The power cord must be unplugged or the roaster fully isolated from the electrical supply before removing any panels.
-
Read the instructions in full before starting work, and follow the steps as instructed below
Tools required
- Flat-head screwdriver, coin, or similar to open front door
- 2 mm hex key
- 2.5 mm hex key
- 3 mm hex key
- 4 mm hex key
- Narrow-nosed pliers
- Fine sandpaper (400 grit or finer)
Instructions
Open the front door and remove the both side panels
See instructions here.
Right-hand side bushing
The bushings should be removed and replaced one at a time, to maintain the alignment of the paddles. In this guide, we start with the right-hand side bushing.
Remove the belt cover and drive belt.
See full instructions here. The steps are repeated below for convenience.
Loosen the stepper driver. You do not need to disconnect the driver completely, just loosen it from the bracket and set it aside.
Remove the belt cover.
Loosen the belt tensioner.
Remove the drive belt.
Remove the upper pulley.
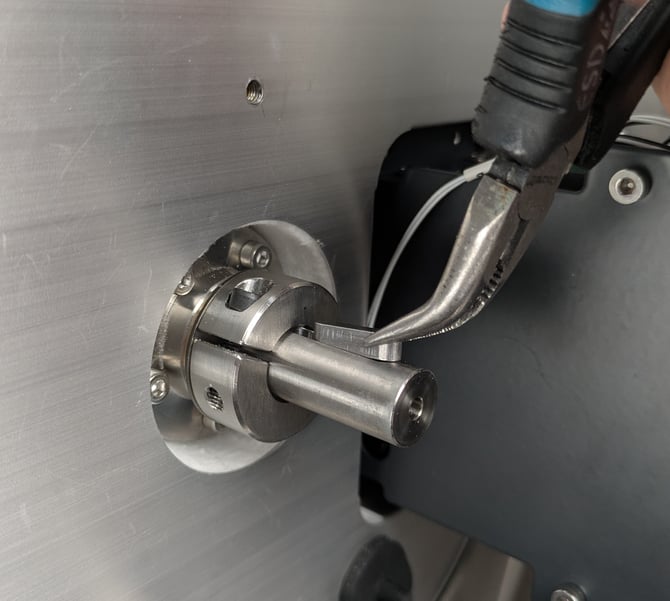
Remove the drive key
The drive key is a small piece of metal that sits in a slot in the axle. Pull this out and set it aside. Use pliers if necessary.
Remove the alignment collar
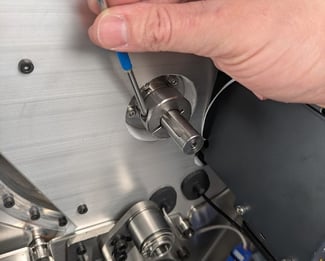
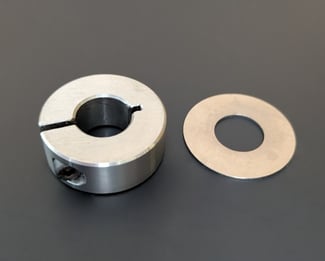
The alignment collar is a clamp that holds the axle in position, to keep the paddles correctly aligned in the drum.
To remove it, loosen the bolt with a 3 mm hex key, then slide the collar and washer off the axle. (Depending on your model, the washer may be attached to the collar or may be a separate part.)
Remove the bushing
The bushing is held in place with 5 bolts. Use a 3 mm hex key to remove the bolts, and then slide the bushing off the axle.
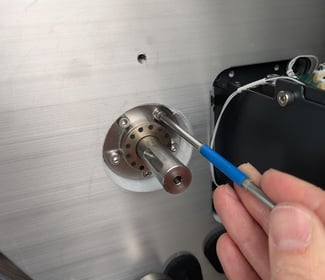
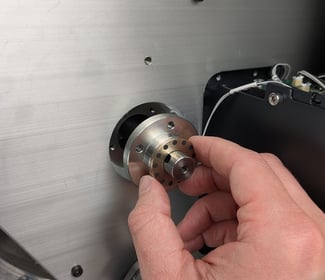
If the bushing is very stiff on the axle, you may need to use a pliers or pipe grips to remove the bushing. In this case it may help to have someone hold the RPM plate on the far side of the axle to prevent it from rotating, so that you can rotate the bushing in alternating directions to loosen it while pulling it off the shaft.
Clean the axle
If the bushings are worn, there may also be some wear on the axle. Lightly sand the axle with fine sandpaper (400 grit or finer) to remove any burr that may have formed on the axle.
After sanding, clean the visible part of the axle thorougly with a clean, dry soft cloth. Do not add any lubrication — the bushings are self-lubricating.
Install new bushing
Slide the new bushing onto the axle and loosely secure with the 5 bolts. Tighten the bolts gradually in a star pattern, alternating sides until all bolts are tightly fastened.
Replace alignment collar
Slide the collar onto the axle. To maintain the proper alignment of the paddles, push on the axle from the far side to hold it in position. Position the collar right up against the bushing and tighten the bolt to hold it in place. If the collar is correctly positioned, the axle should not be able to move back and forth, but only rotate.
Reinstall drive belt and motor driver
Replace drive key and top pulley.
Reinstall drive belt and check the belt is correctly aligned.
Remount the belt cover using the three bolts.
Reposition the main motor driver and secure with its bolt (or press in place until secured, if the driver was secured with adhesive).
Left-hand side bushing
Remove the RPM plate
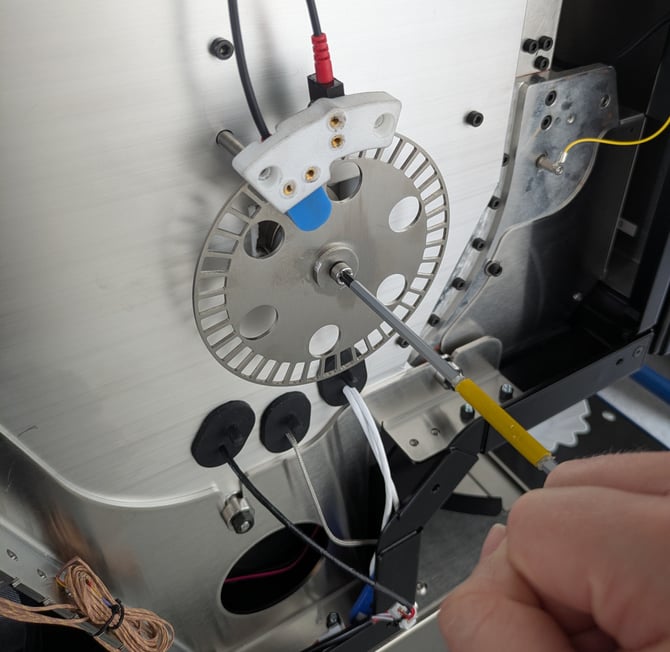
The RPM plate is held in place with a bolt in the centre. Remove the bolt with a 4 mm hex key and set aside the RPM plate and washer.
Replace bushing
Follow the same steps detailed above to replace the bushing:
- Remove alignment collar
- Remove bushing
- Clean the axle with fine sandpaper and a clean, dry soft cloth
- Install new bushing
- Replace alignment collar, being sure to push the axle through from the far side to position the collar correctly
Reinstall the RPM plate
The rear side of the RPM plate has a small protrusion, which lines up with a groove in the axle to ensure it is positioned correctly. Put the RPM plate and washer into position, and then secure with the bolt.
Finish up
Check that the drum spins freely and that the axle does not move side to side.
Replace the side panels and secure with the four bolts.
Close the front door.